插件安装
在VSCode的插件库中搜索Hexo,安装VSCode-Hexo,安装完成之后重启VSCode。

新建文章
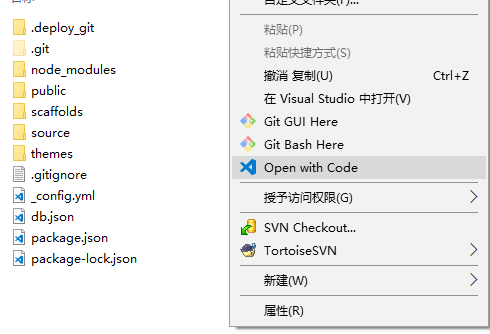
首先需要在博客目录中打开VScode。
按下Ctrl+Shift+P,呼出终端。
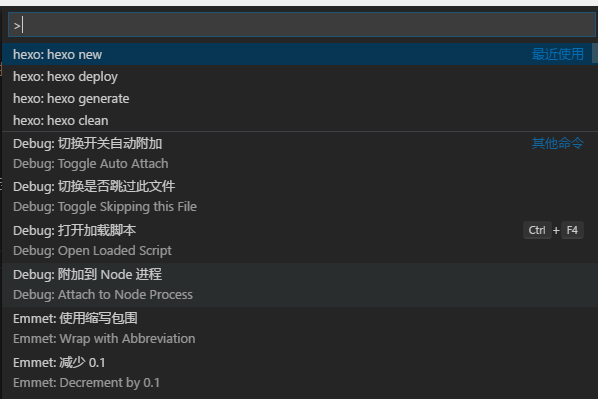
输入hexo new。

输入布局种类,可以选post(文章),page(页面),draft(草稿)。

- Post
post就是通常的文章,会被自动归档和处理。 - Page
page是一种页面,例如标签页啊,分类页啊,关于作者啊这种页面。 - Draft
草稿不会被加到目录中,也不能通过链接访问,用来临时存放文章或者放一些不公开的文章。
要写文章选Post就好了,然后输入title,即文章标题。

回车之后控制台输出

文章生成,可在source/_posts下找到对应的md文件。
发布文章
发布有两个步骤,生成和部署。
按下Ctrl+Shift+P,呼出终端,输入Hexo generate

选择参数,无需填写,直接回车

启动生成,控制台输出如下信息
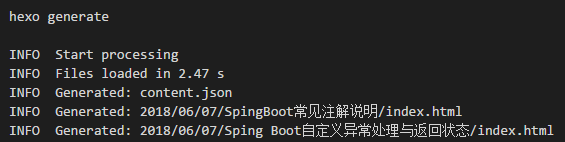
生成成功

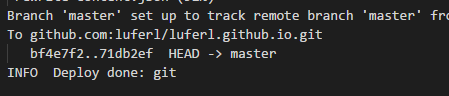
按下Ctrl+Shift+P,呼出终端,输入Hexo deploy

选择参数,无需填写,直接回车

启动生成,控制台输出如下信息
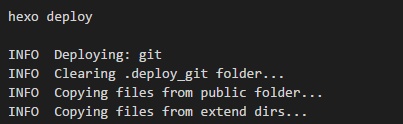
部署成功

文章评论